Moved into a new home with a deck? Want to give an old deck a makeover? Built a new deck and it’s weathered for a year or more? If you’re someone who has never stained anything before use these tips to make the job easier and get terrific results.
Staining a deck for the first time may sound like a big job. However, with the right prep work and following the right steps, you’ll be able to protect and beautify easily.
Choose your stain colour!
If you haven’t stained your deck for a while (or ever) you really need to see samples of stain options on your deck to see what finish you will get and if it suits your home and personal tastes. Make use of test pots and don’t always assume the sample in the shop will look the same as on your deck. Different wood and even the weathered age of your deck will make a difference in the overall end result!
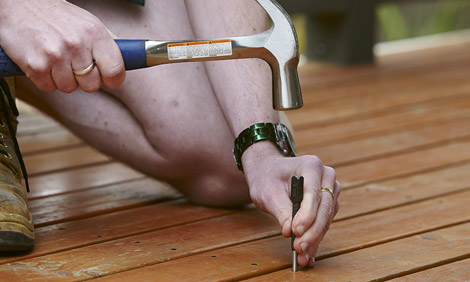
Step 1 – Remove and Inspect
First, clear the deck of furniture and large debris. Dry sweep. Walk around the deck, looking for any imperfections such as the following:
- Broken screws
- Warped pieces of wood
- Broken pieces of wood
- Rough boards
- Nails that are raised above the surface
After you finish inspecting the deck, you may have to repair or remove and replace any imperfections. Use your best judgment – is it a repair or replace?
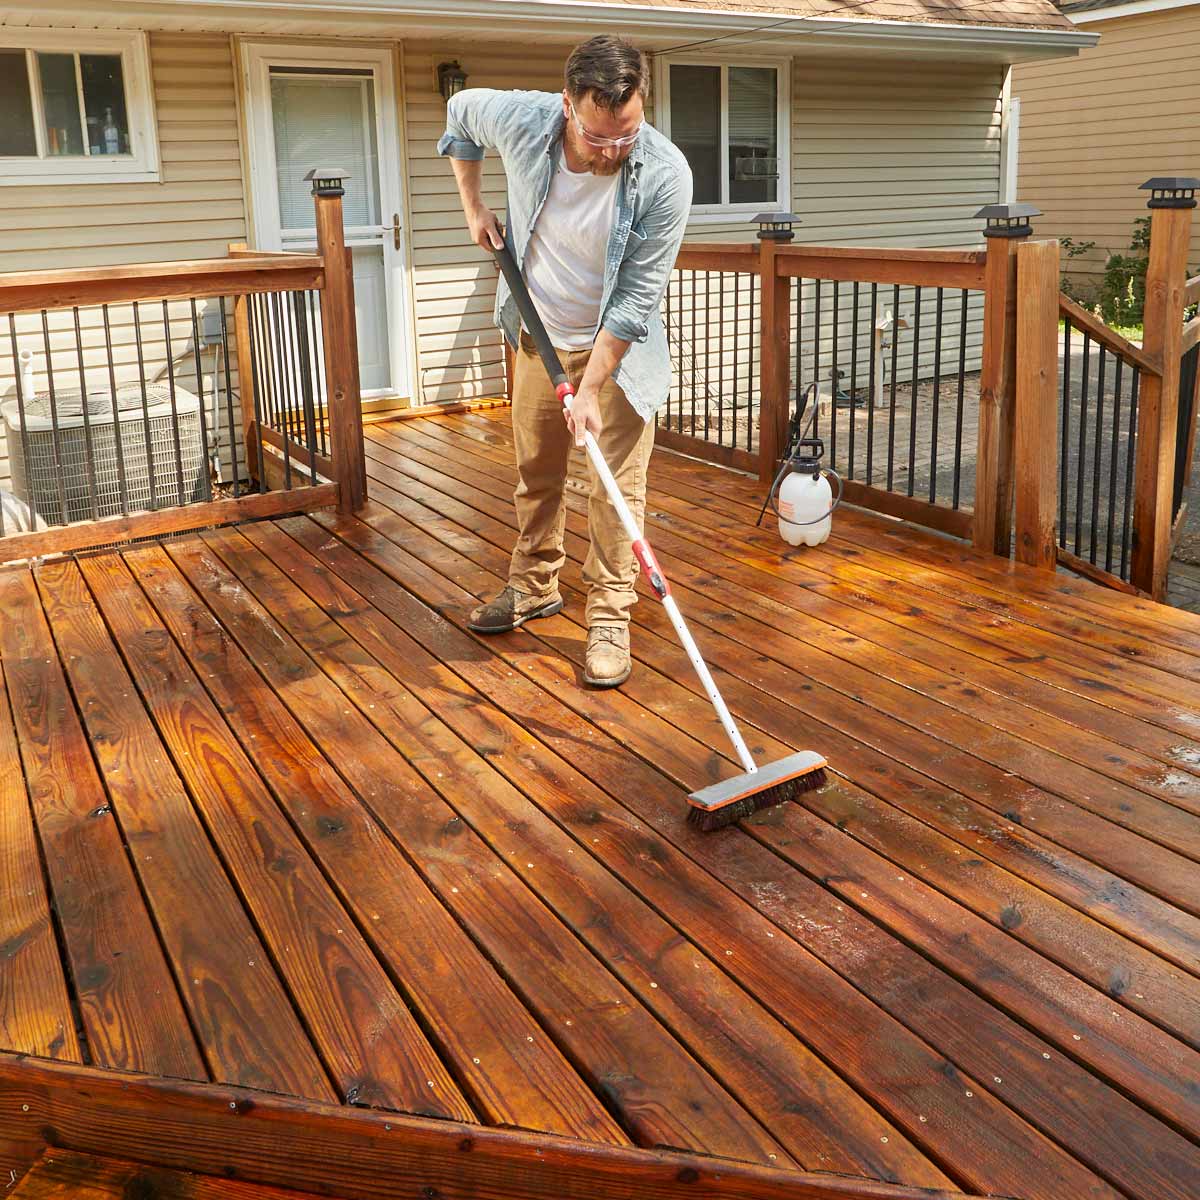
Step 2 – Clean
Really the most important step to staining if you want the best result is cleaning your deck. A clean surface allows the stain to soak in and properly cure. We recommend you properly clean your deck every year to keep it maintained. Deck cleaners such as Cabots Deck Clean are great at removing dirt and stains that may have been caused by mildew and mould.
Be sure to follow all safety precautions and application instructions that are printed on the product label. Scrub your deck with a mop that has stiff, hard bristles after you apply the product. Once you’ve scrubbed the deck, wash away the residue with a pressure washer. Allow your deck to completely dry before you get ready to stain.
Step 3. Preparing to stain your deck
Yes, more prep work! Once you’ve made sure the surface is clean, sanded, dry and ready to absorb the stain; cover any areas that you don’t want stained with masking tape. Finally, give your stain a good stir. This ensures all the pigment is evenly mixed throughout the tin and will help give you a consistent finish
Step 4. Stain the edges and corners of the deck with a paint brush
Start by using a paint brush or small hand roller to “cut in” or stain the edges and the corners. Use nice, long brush strokes, and blend in as you go. As long as you are continuous, it won’t matter if the stain is a little stronger in some parts.
Step 5. Stain the large deck areas
It’s up to you, you can use a ‘lambs wool’ applicator, a roller brush or even sprayer to apply a steady coat of quality stain.
Dipping your chosen applicator into the paint tray, making sure you take a moderate amount of stain with each dip. Use long, even strokes to stain the timber, blending in as you go. Remember to finish on an open edge so you don’t paint yourself into a corner (we’ve heard of people doing this). If you see that too much wood stain has been used in an area, use a roller or brush to fix the imperfections and blend.
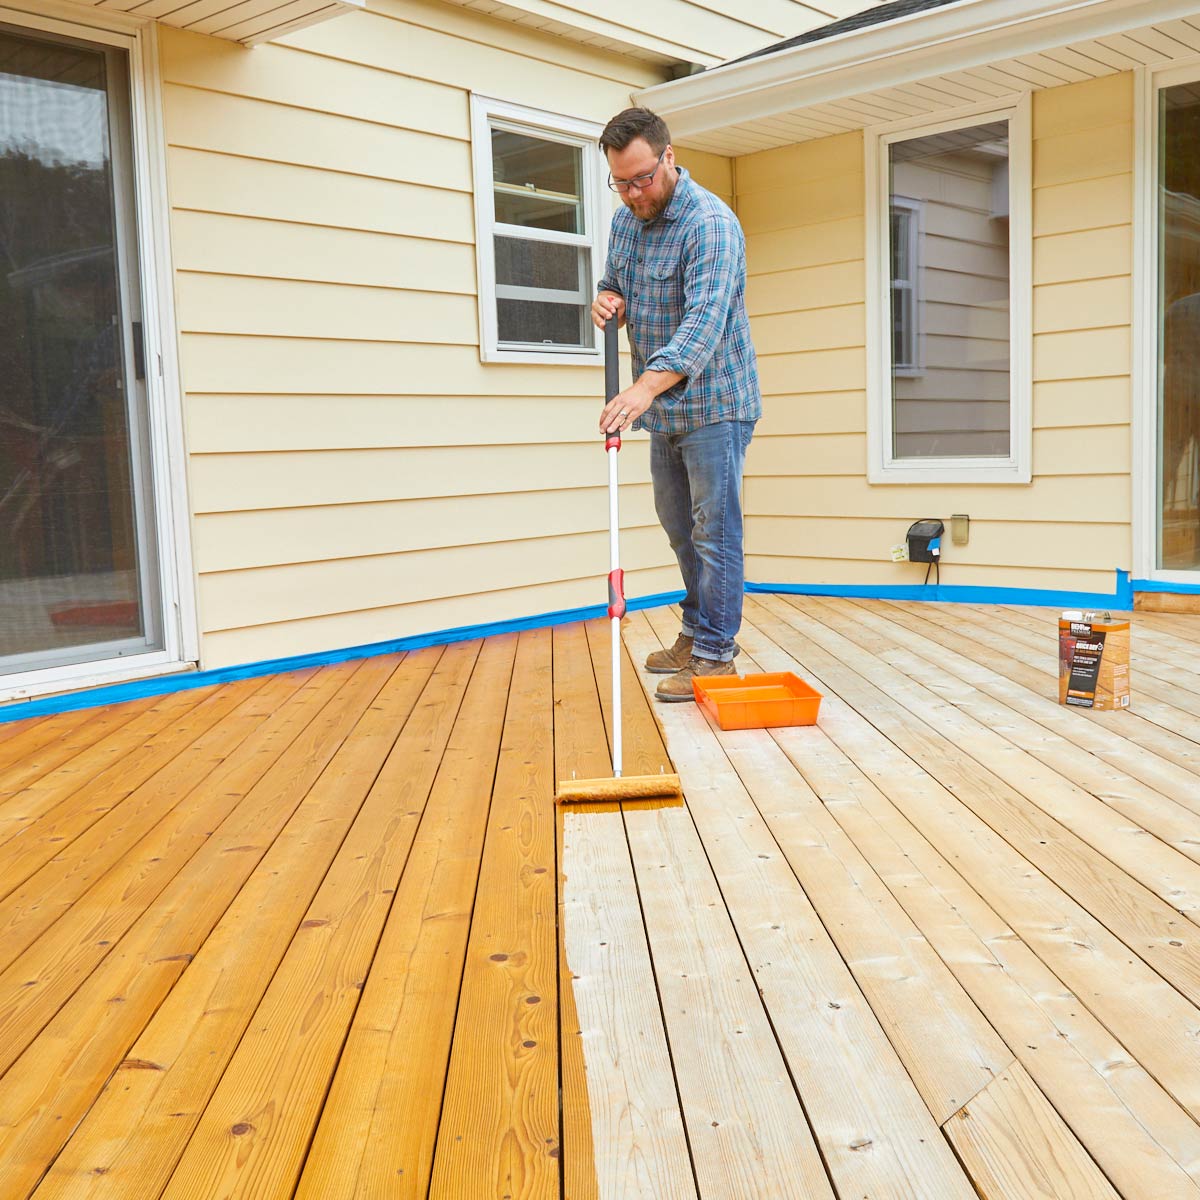
Pro tip: Back brushing your stain will help the stain soak into your deck boards, allowing better, long-lasting results.
Step 6 – Wait for It to Dry
Wood stain needs 24 to 48 hours to dry, but this may vary depending on the deck and wood it is applied to. The time that it’ll take for the stain to dry will depend on the temperature and humidity in your location. To avoid damaging the finish delay replacing the furniture and other items such as your BBQ for as long as you can.
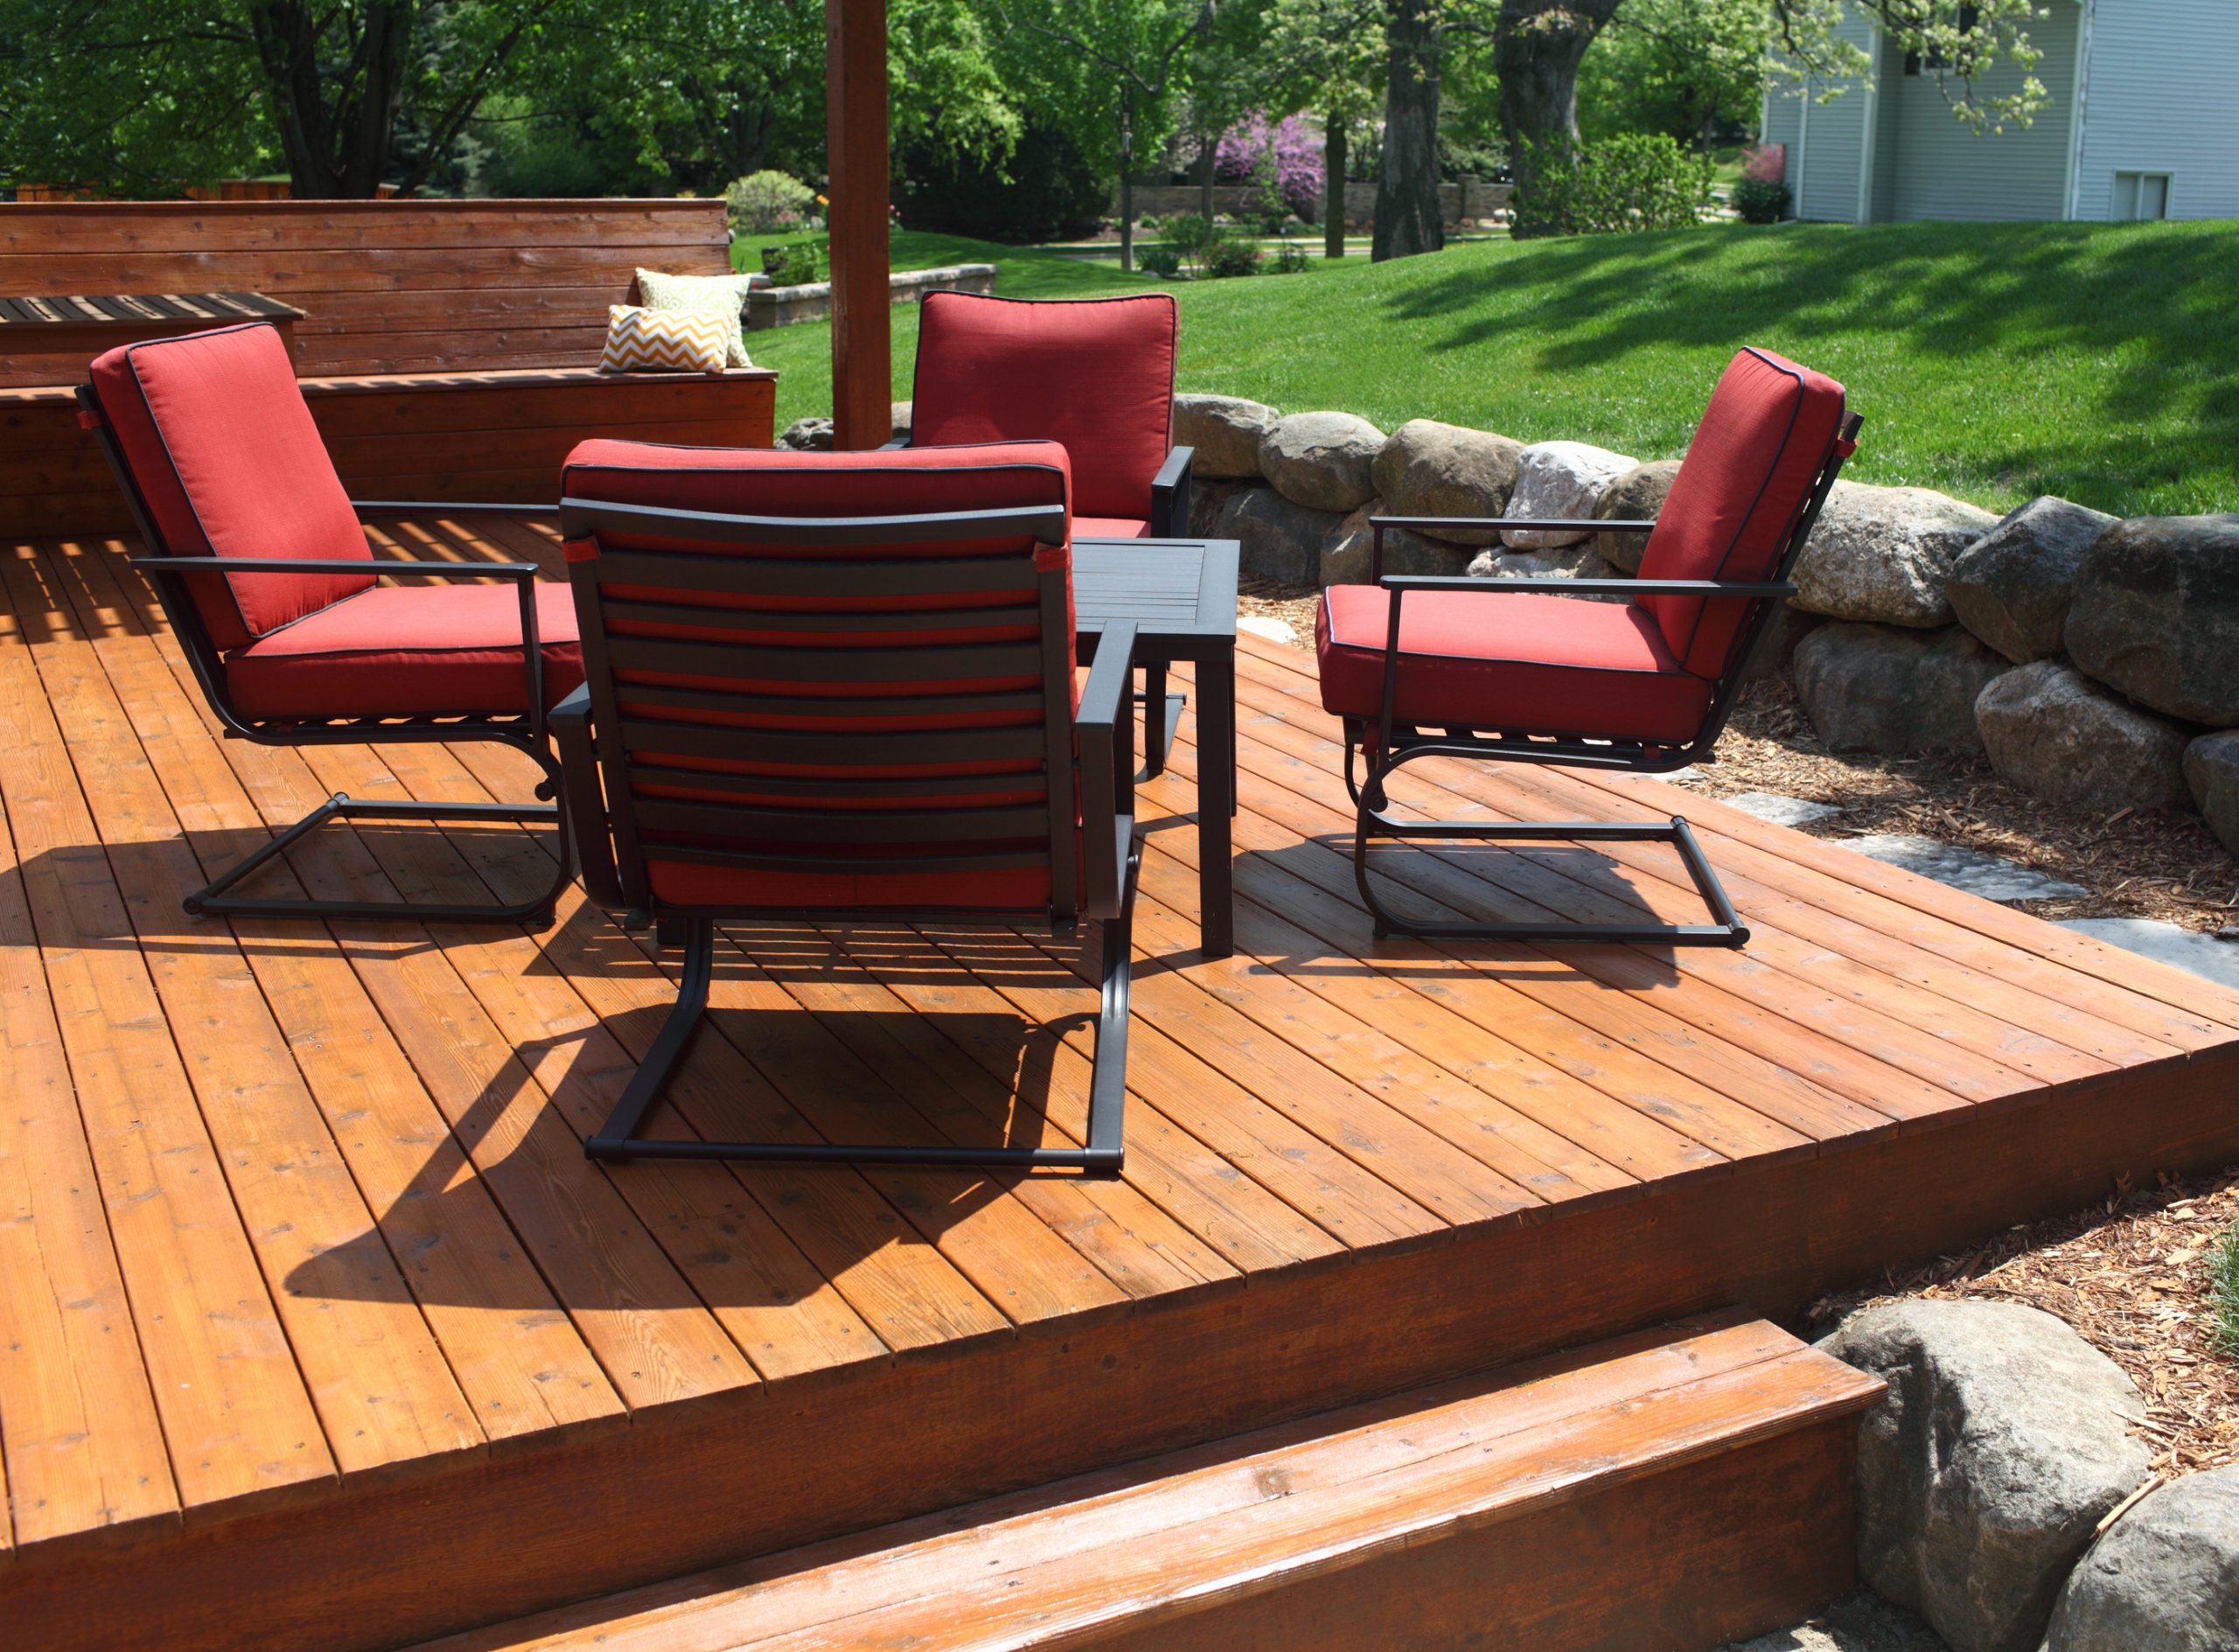
As long as you take care of your wood and perform routine annual maintenance, staining your deck will bring you with long lasting and successful results.
Love your home? For more interesting articles, industry tips and expert know-how from the Canterbury Home Show subscribe here!